Published February 2, 2025
How To Sterilize Baby Bottles: Health, Safety and Quality Nutrition
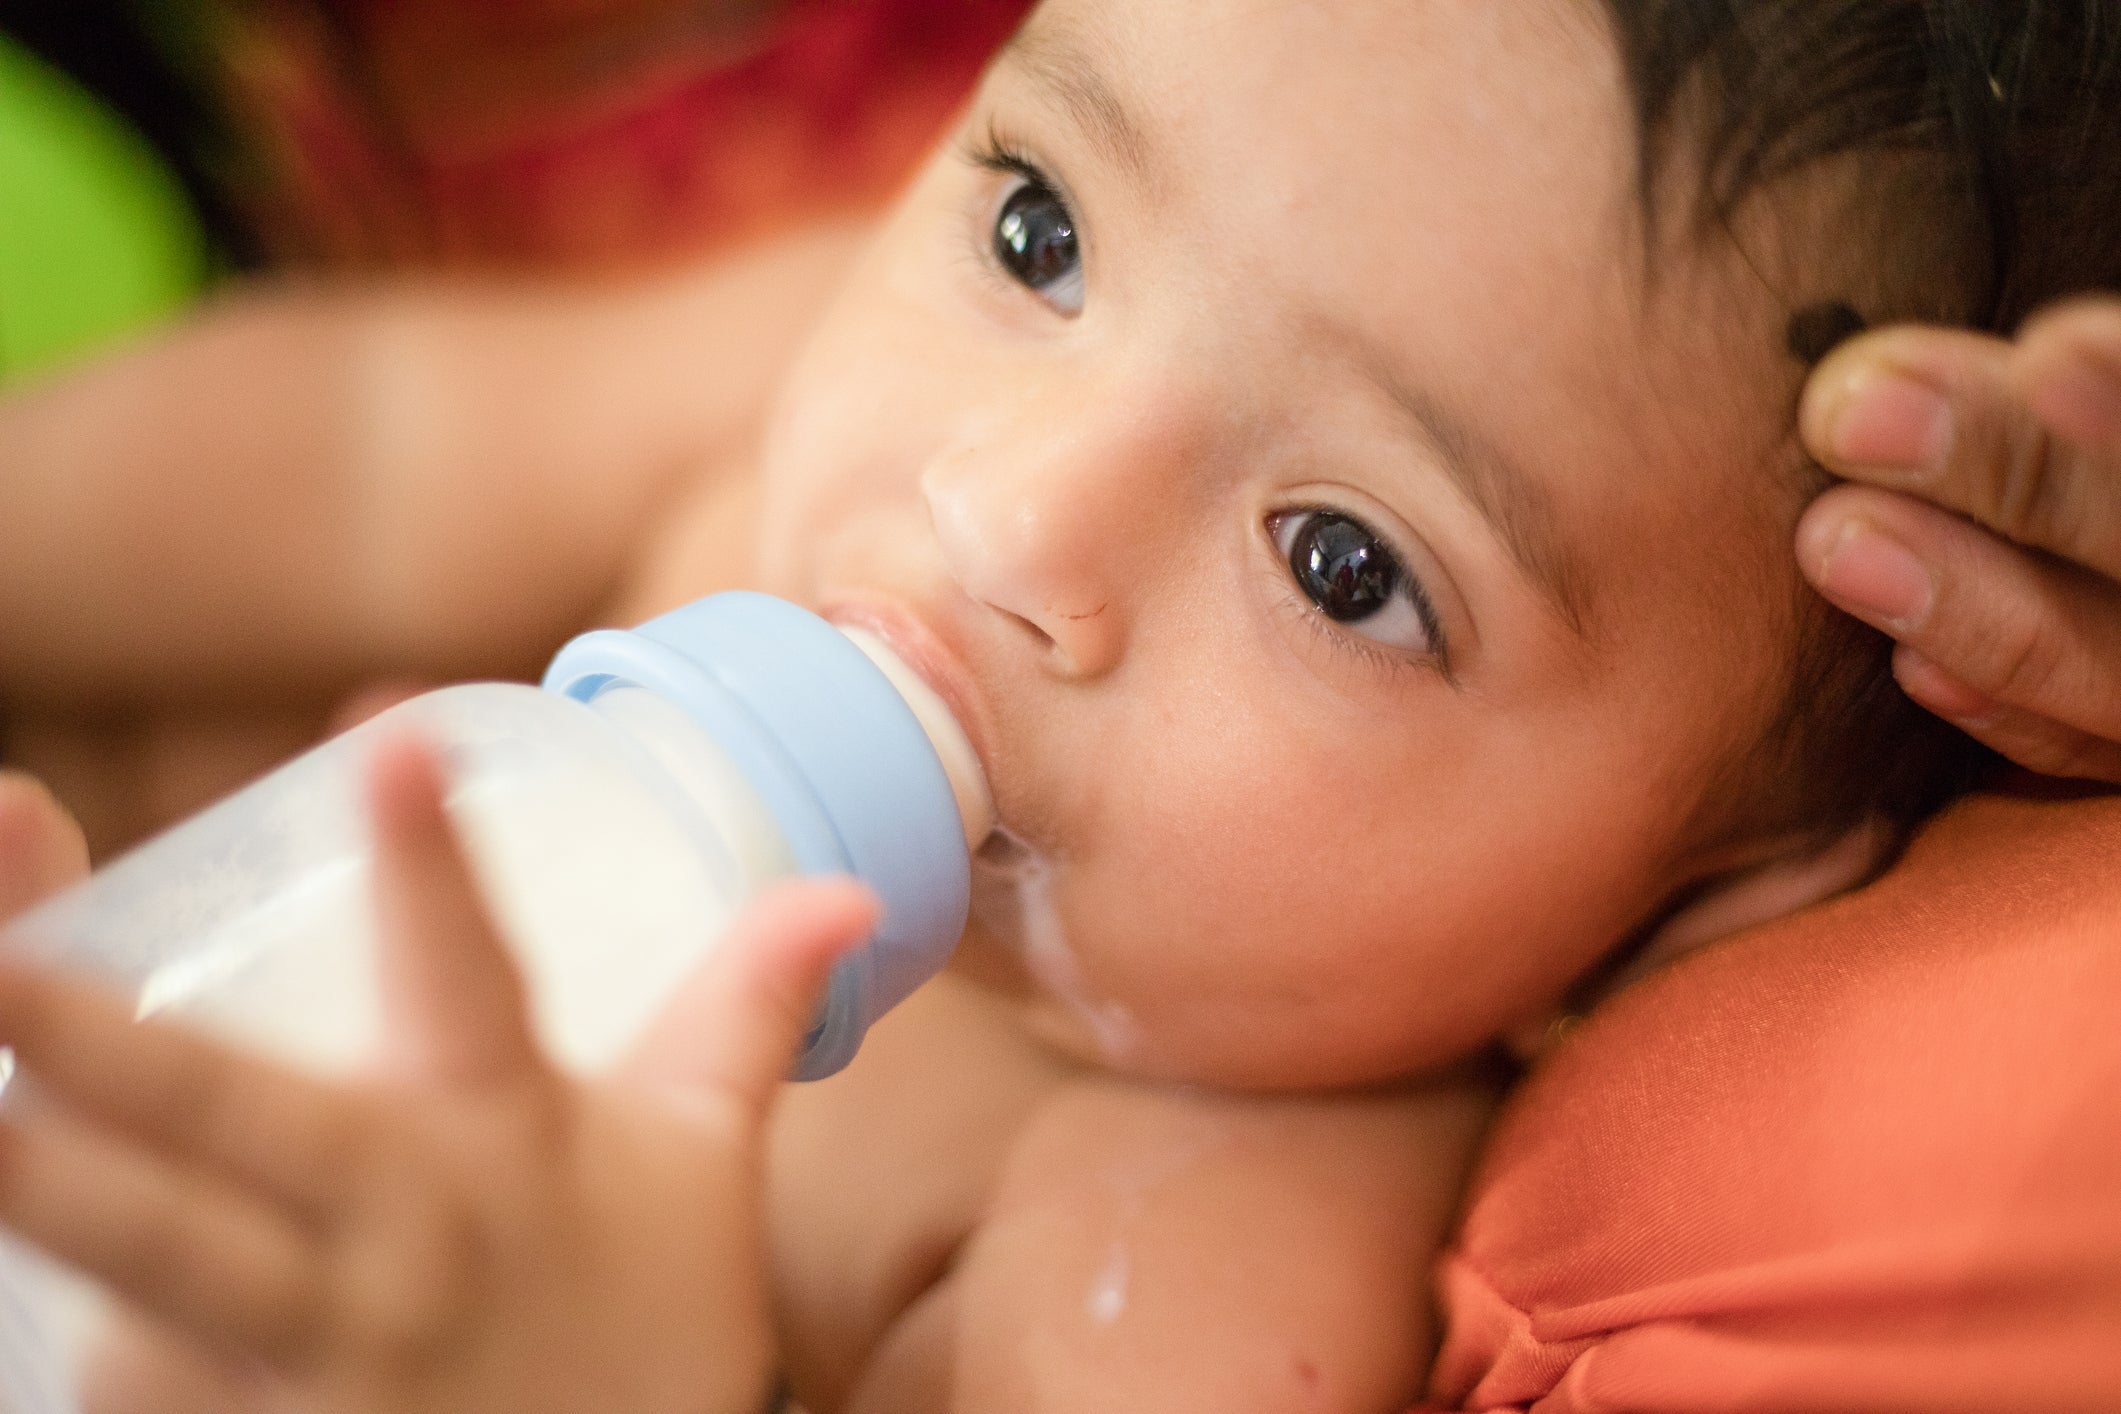
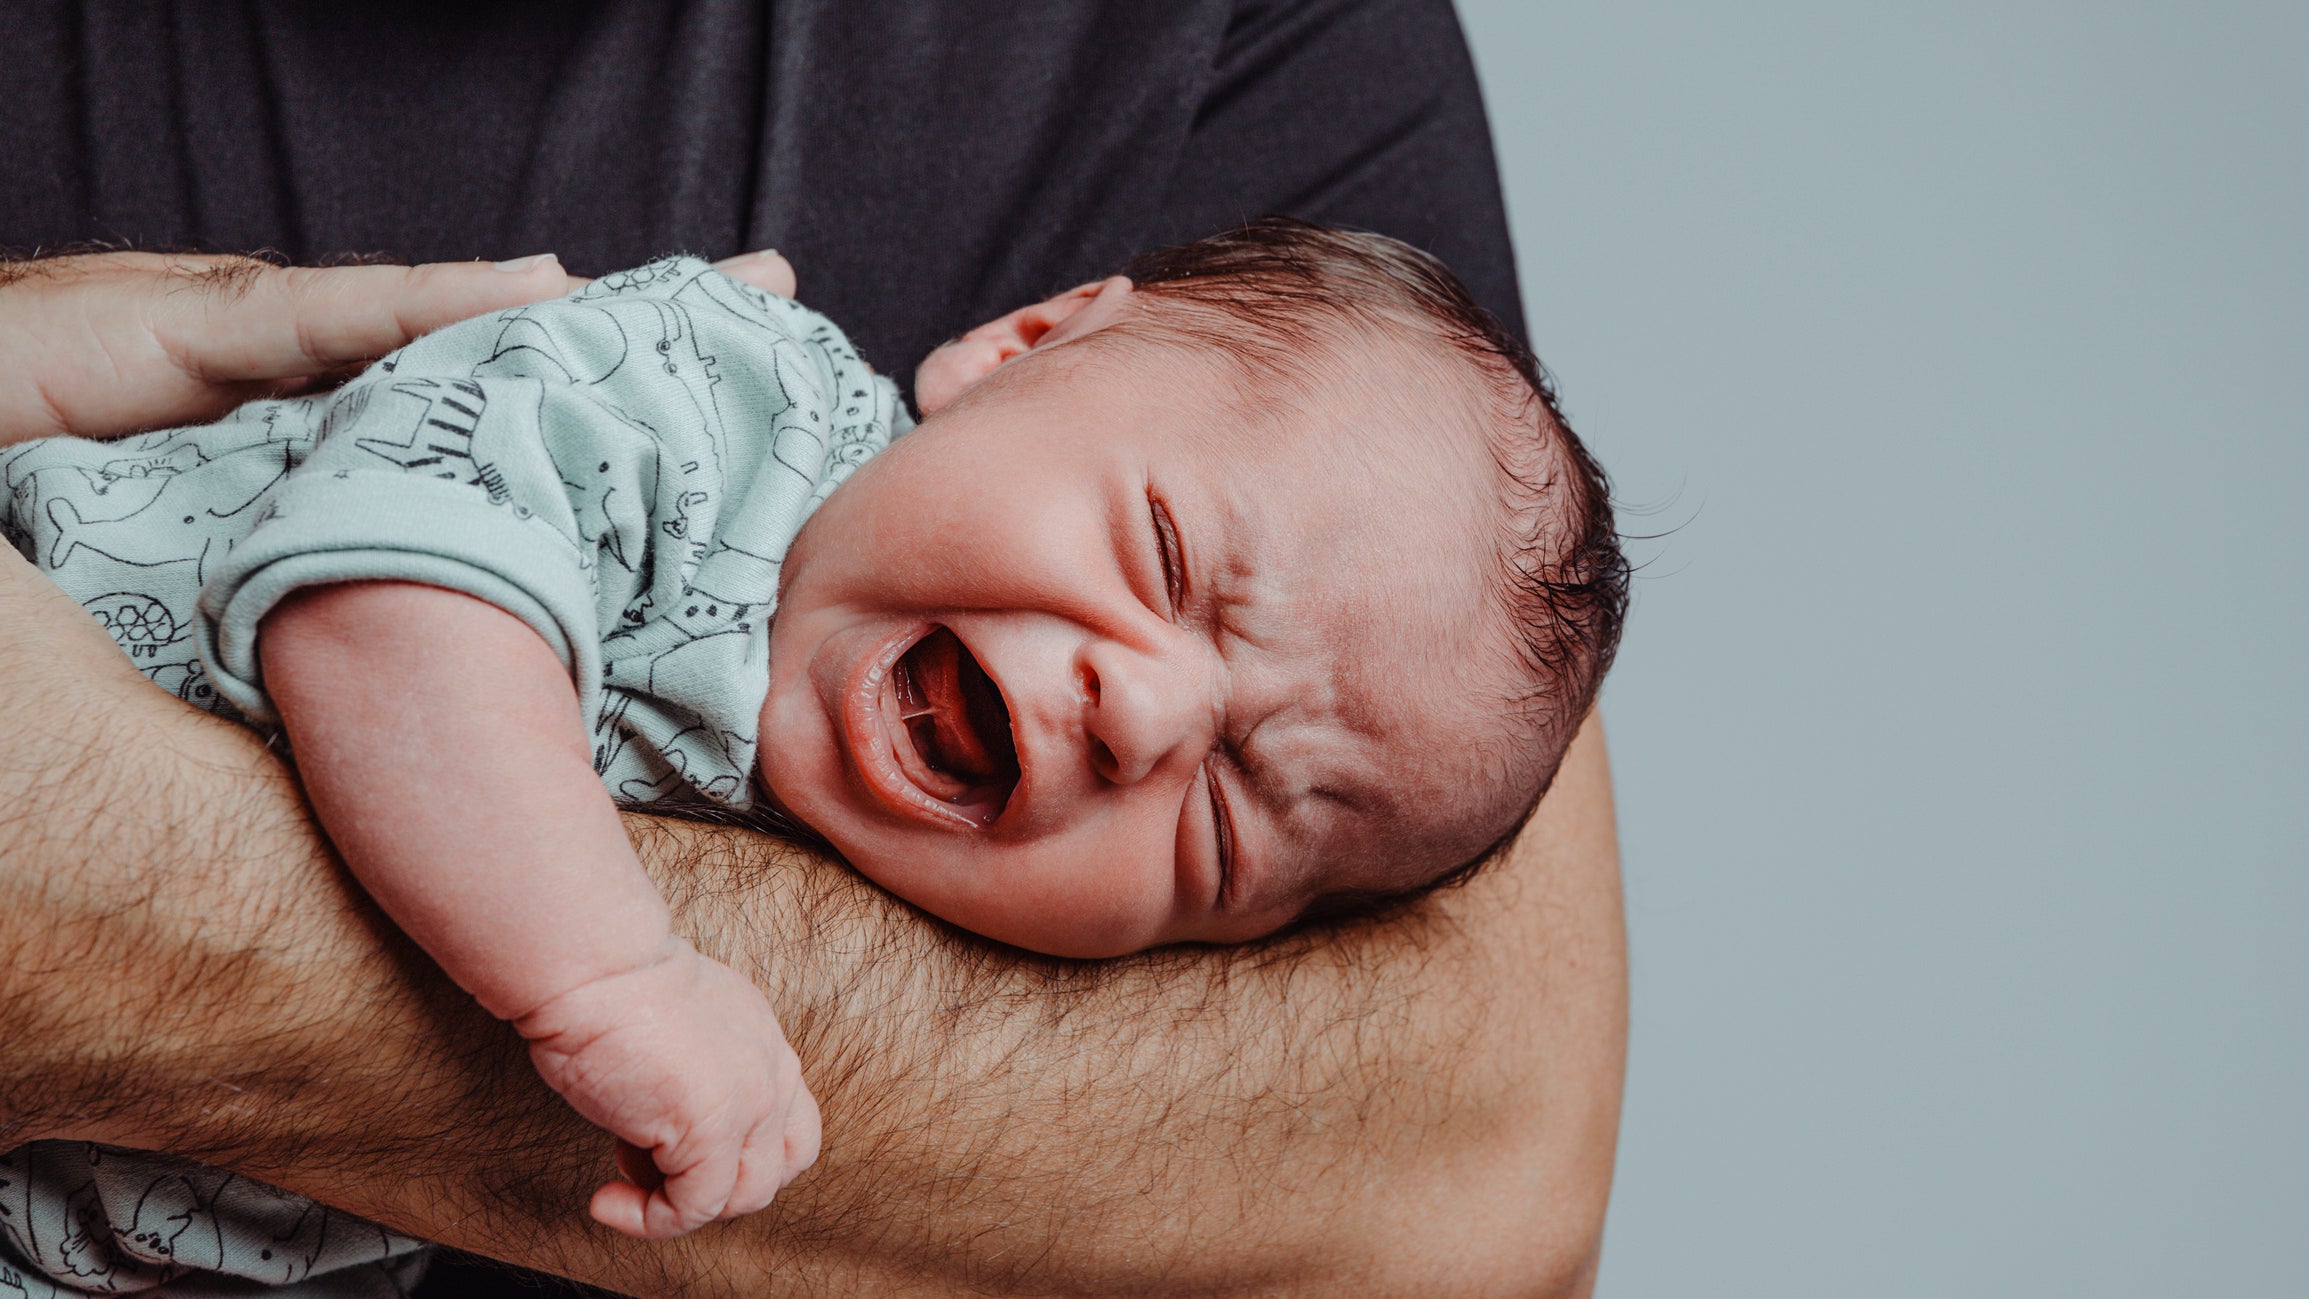
If you're a new parent concerned about the risks of contamination during feeding, you’re not alone! We know keeping your baby healthy and safe is a top priority — and that starts with clean bottles. Sterilizing isn’t just another chore; it’s one of your first lines of defense against germs and bacteria that could impact your little one’s health.
Ready to make bottle time as safe and worry-free as possible? Read on to discover ways you can sterilize baby bottles and the best practices to support their health, development and nutrition along the way.
Why Sterilizing Baby Bottles Matters
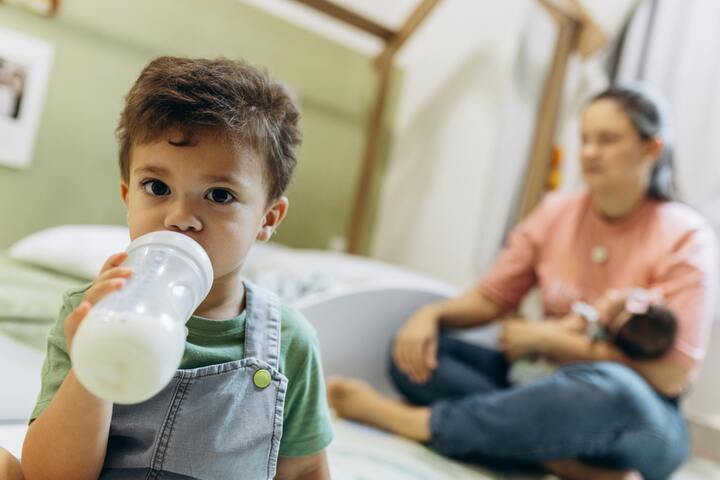
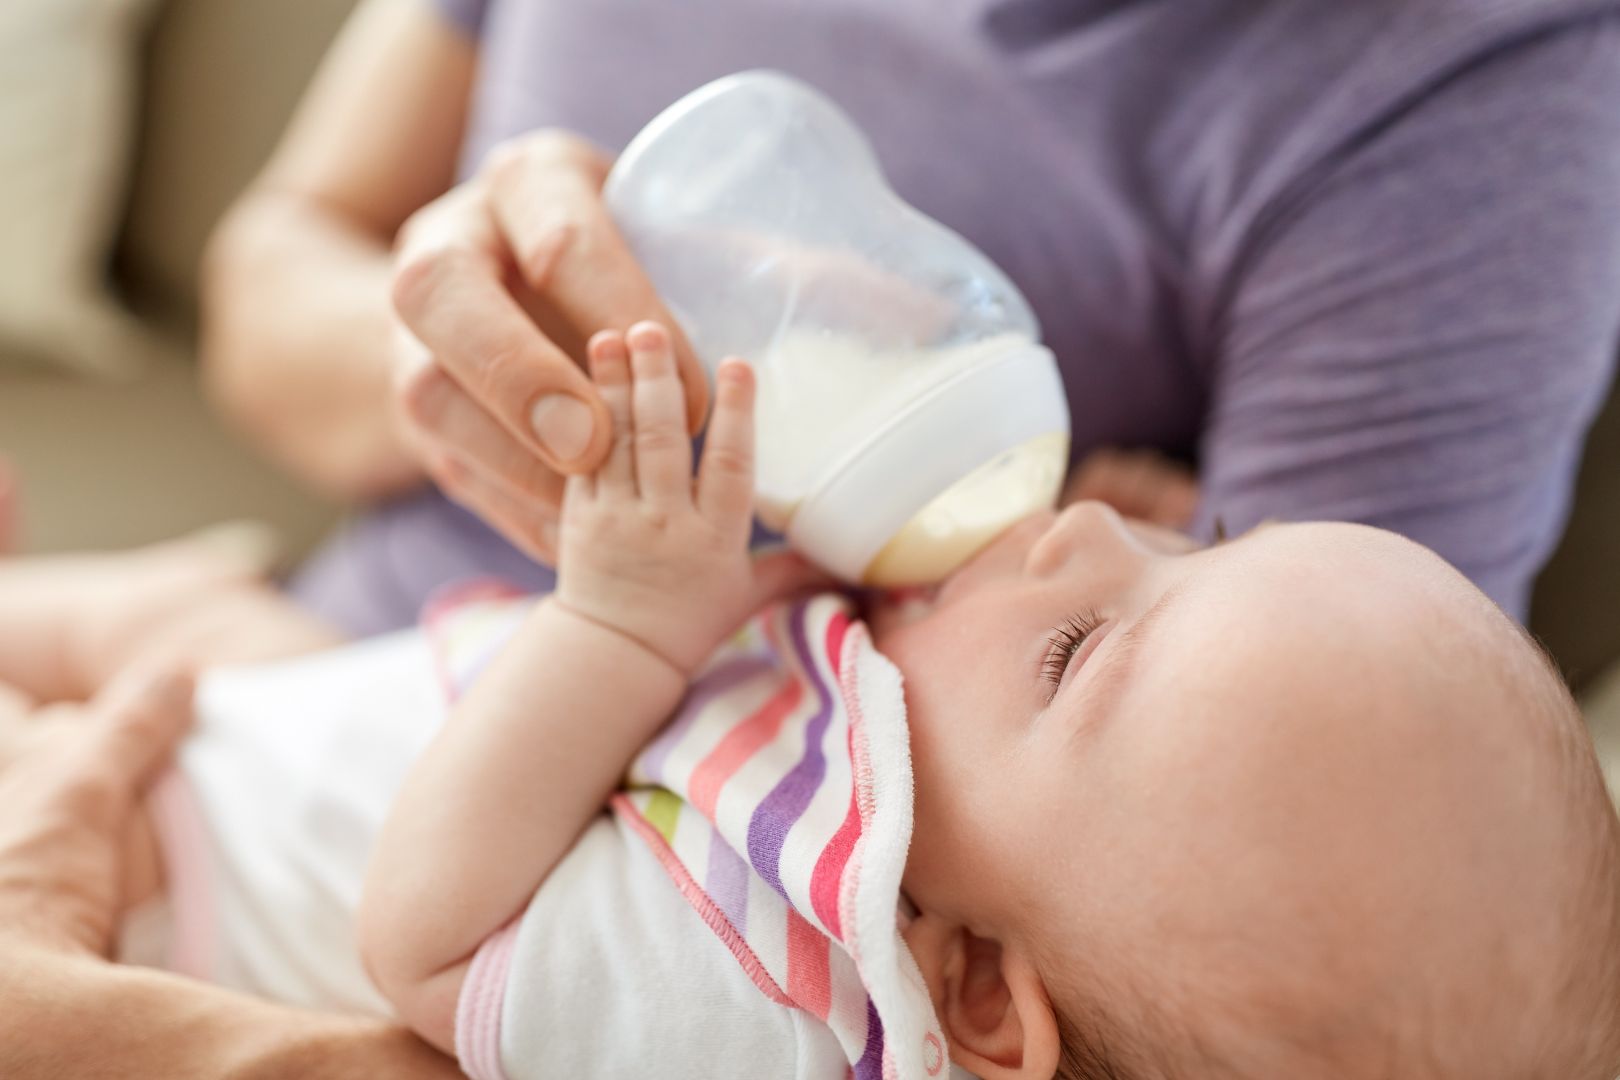
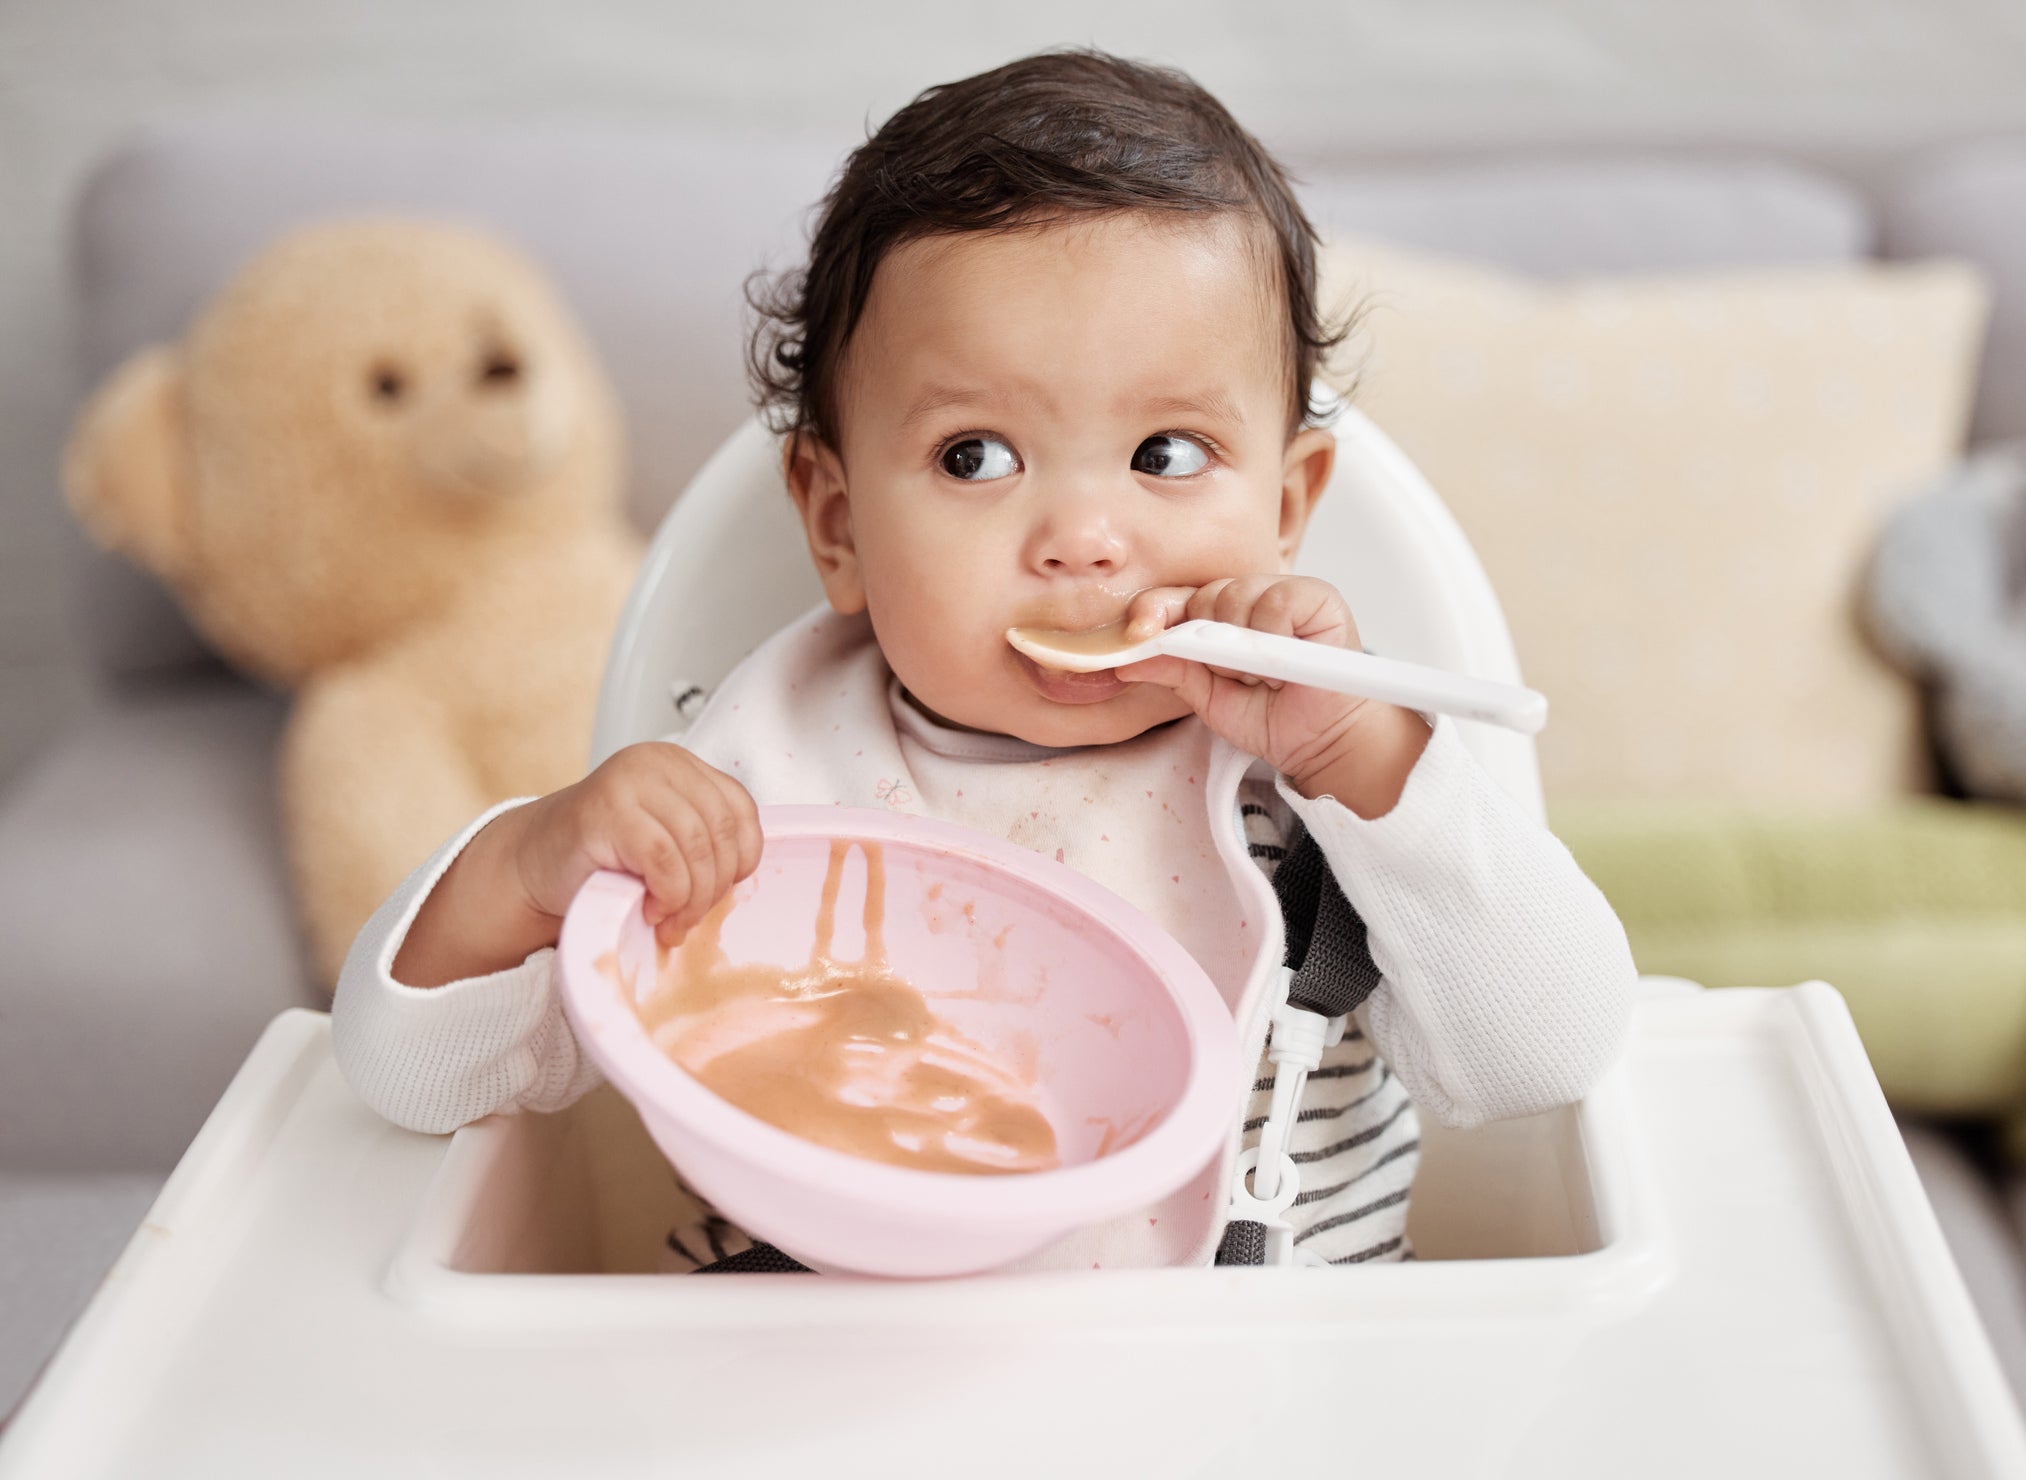
Sterilizing bottles is important for newborns and infants because their immune systems are still developing and need extra protection. Young babies are more sensitive to germs, meaning unsterilized bottles can risk introducing common bacteria, like E. coli and Salmonella — or even viruses — that may upset their tiny tummies. Regular sterilization helps keep bottles clean, making feeding times safer and supporting your baby’s health as they grow.
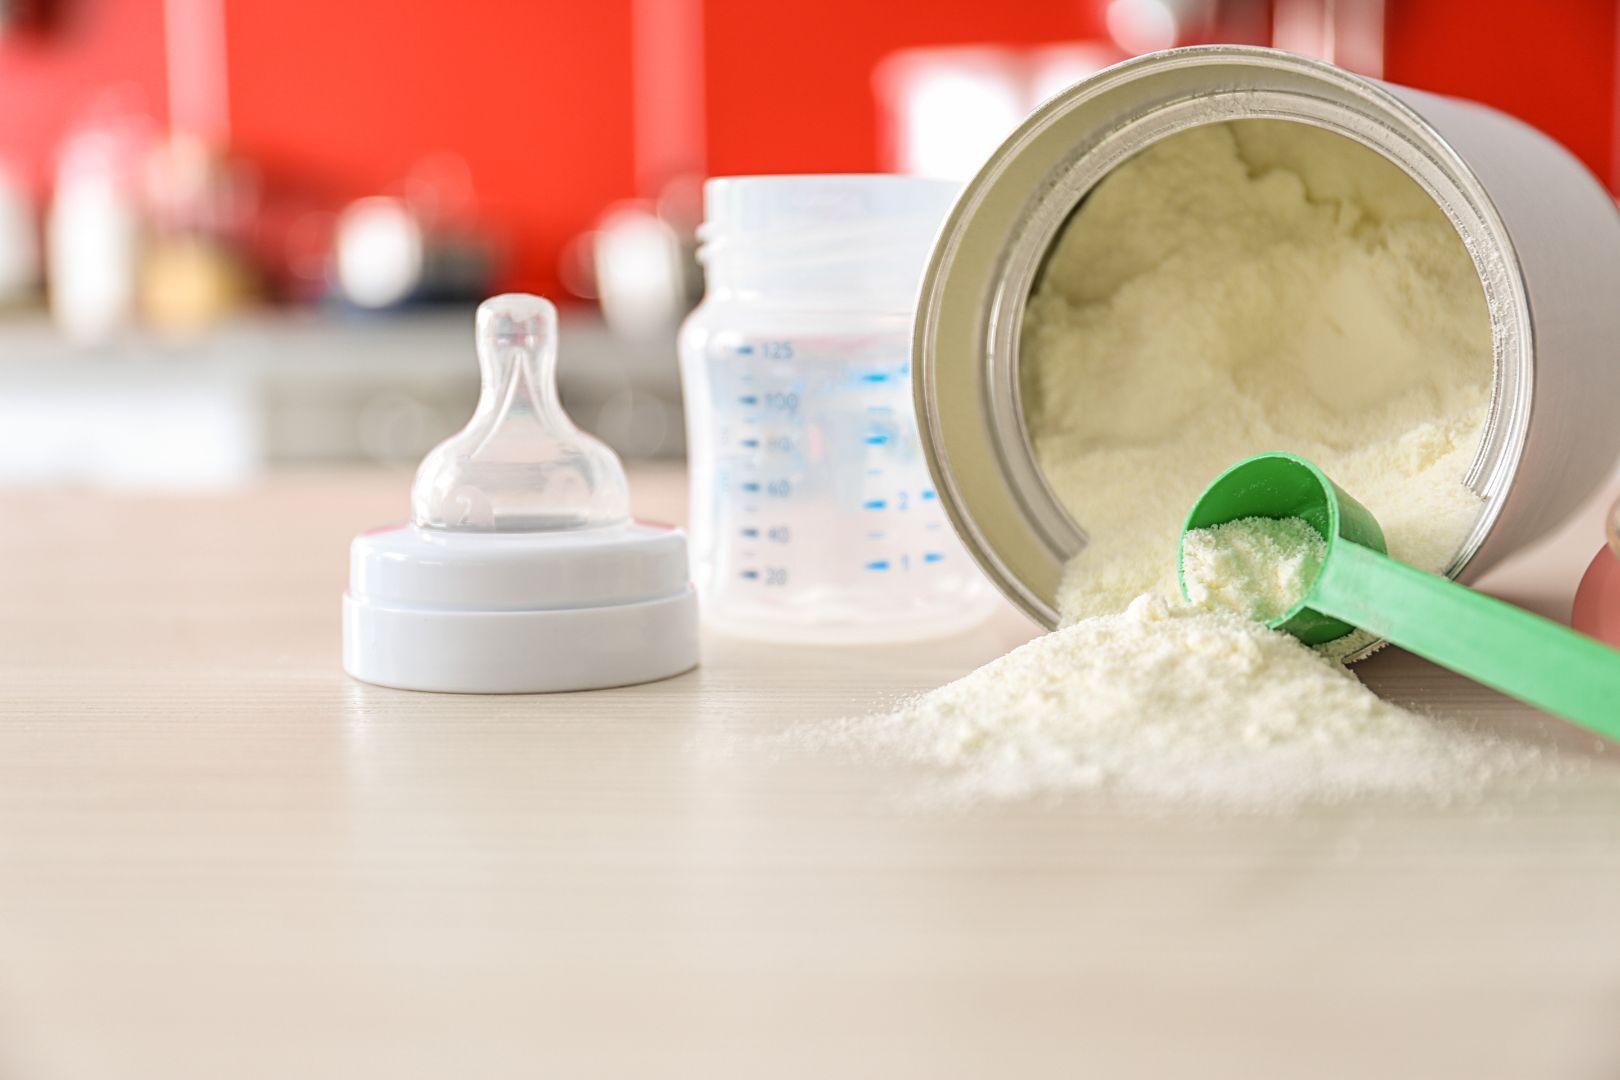
How Often Parents Should Sterilize Baby Bottles
According to the CDC, it’s recommended to sanitize baby bottles after each feeding. Keep in mind that daily sanitization is particularly important for babies under two months old, those born prematurely, or infants with weakened immune systems. While older, healthy babies may not need their feeding equipment sanitized every day, it’s still important to give bottle parts and accessories a good clean after each use.
If your little one doesn’t finish their bottle within one hour of starting, it’s also best to toss any leftover formula. Why? Bacteria can multiply rapidly when you add breast milk or formula to a partially used bottle or one that hasn’t been cleaned thoroughly.
Keep in mind that daily sanitization is particularly important for babies under two months old, those born prematurely, or infants with weakened immune systems. While older, healthy babies may not need their feeding equipment sanitized every day, it’s still important to give bottle parts and accessories a good clean after each use.
There are also a few situations when thorough sterilization is especially important, including:
- After buying new bottles: A new feeding bottle may carry germs from manufacturing or packaging. Sterilization removes any unwanted particles or contaminants before your first use.
- If your baby has been sick: When your little one is under the weather, germs can hang around on their feeding equipment. Offering clean baby bottles post-illness helps prevent reinfection.
- For preterm or immunocompromised babies: Regularly sterilizing bottles adds an extra layer of safety for babies with developing immune systems or those more sensitive to germs.
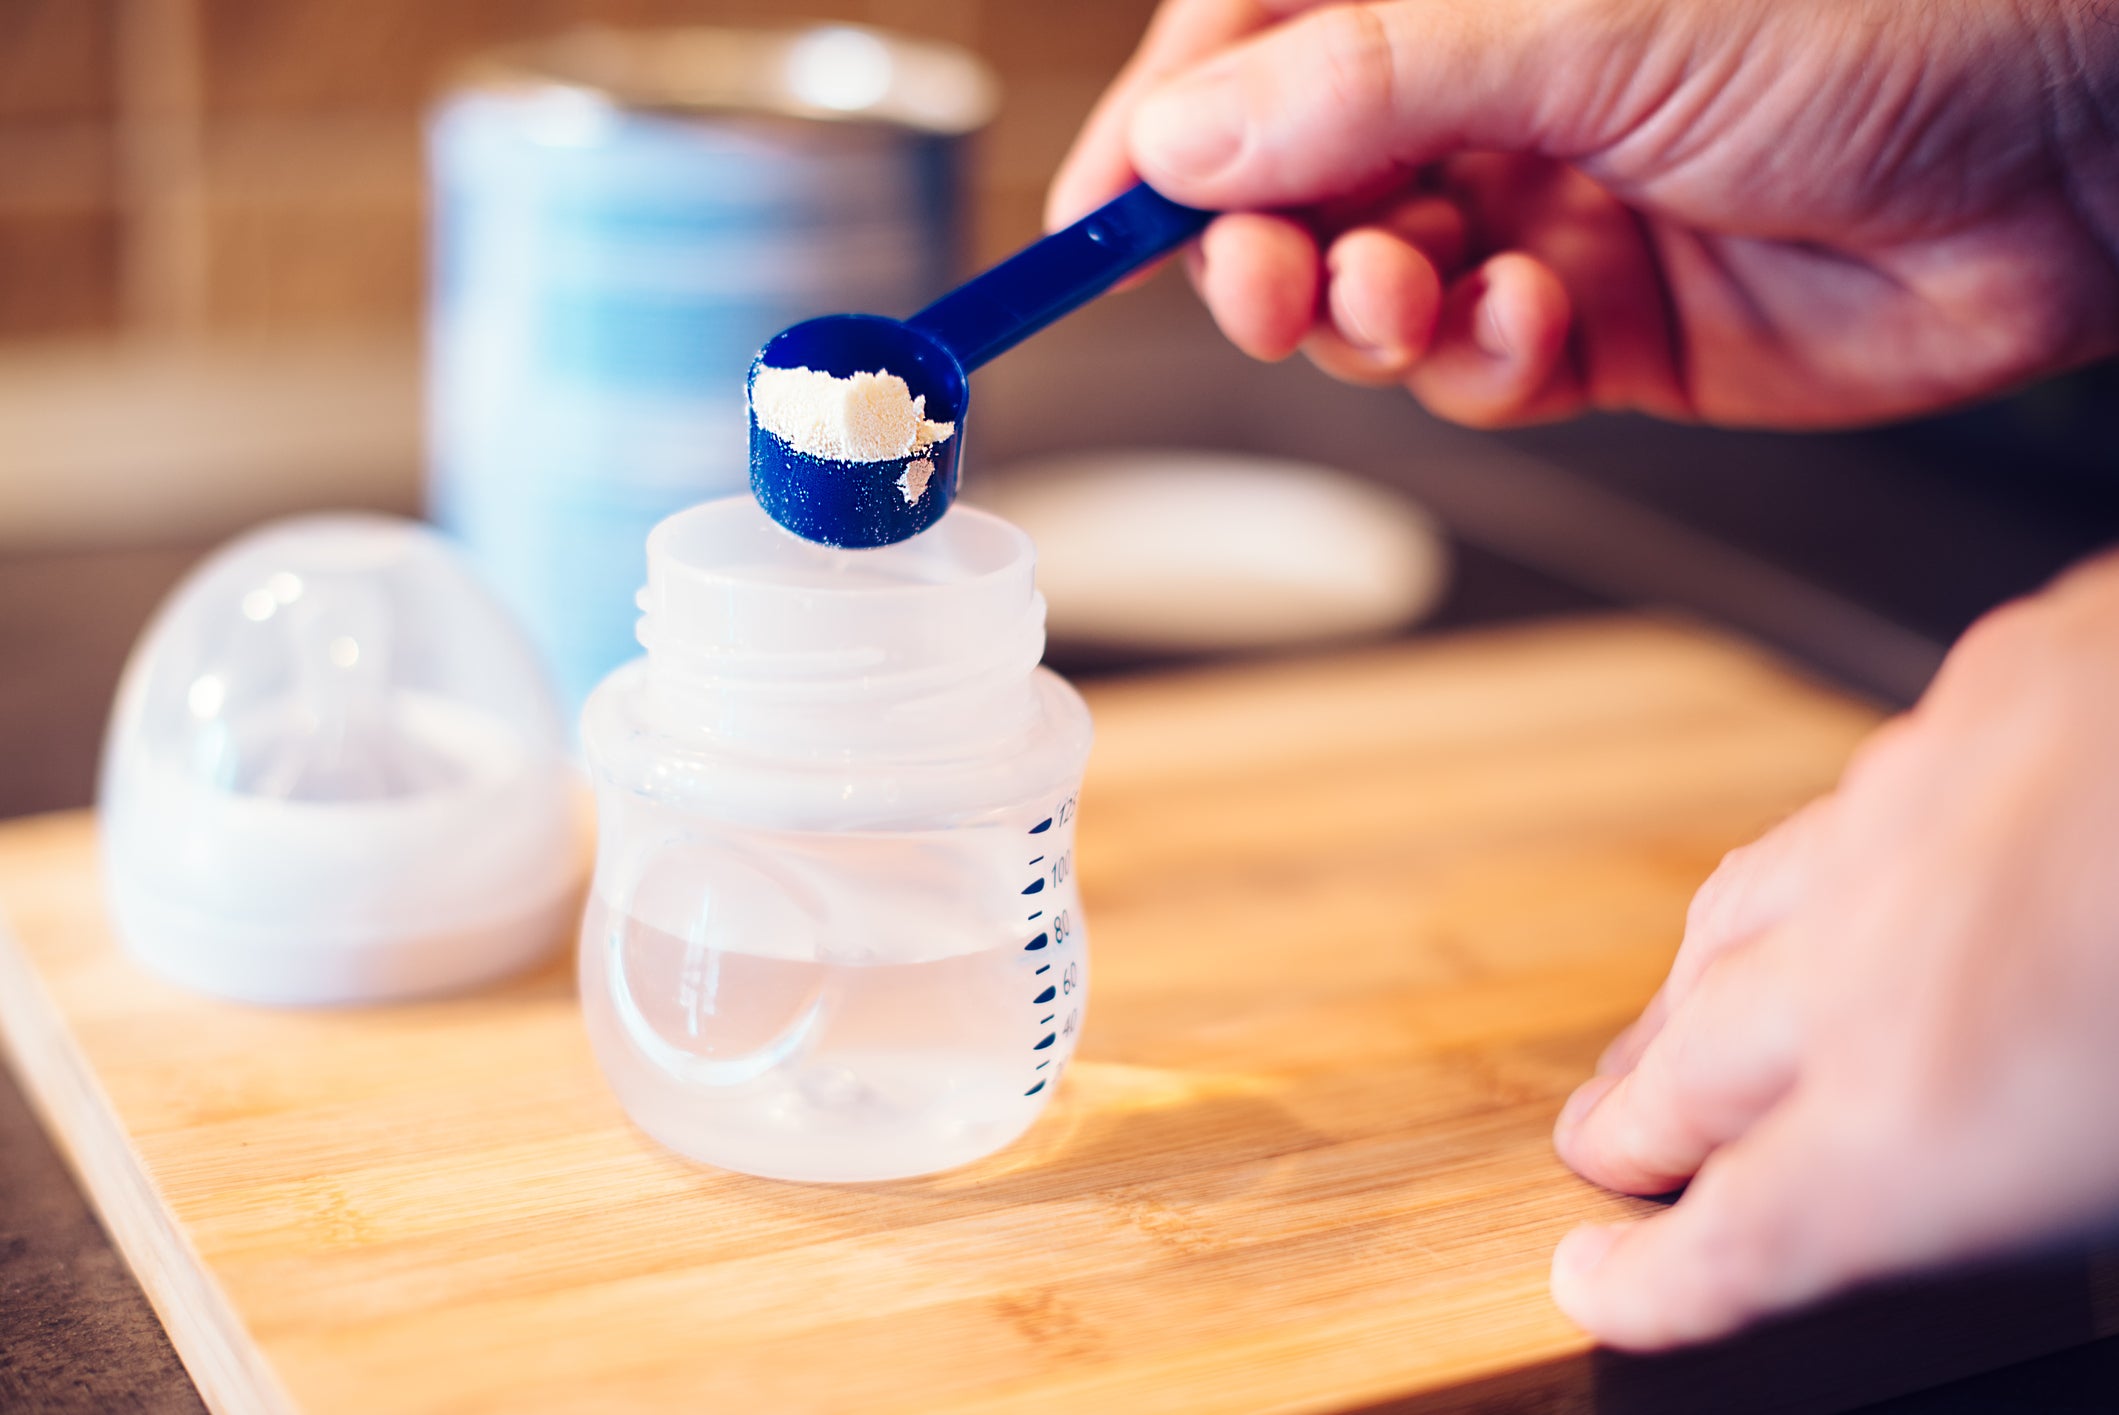
4 Methods for Sterilizing Baby Bottles
Before sterilizing, be sure all of your baby feeding items, bottle brushes and wash basins are thoroughly separated. When you're ready, you can sanitize the equipment using one of the following methods. Not sure which approach is best? Double-check with the manufacturer to be sure.
1. Using a Dishwasher
Dishwasher sterilization is a convenient way to sanitize baby bottles using the high heat of a hot water cycle — just make sure the bottles are dishwasher-safe and placed on the top rack. The CDC recommends the following steps for cleaning infant feeding items in the dishwasher:
- Separate all of the bottle parts, including nipples, caps, rings and valves.
- Rinse each piece under running water to remove any leftover milk or formula.
- Place all parts in the dishwasher, using a closed-top basket or mesh laundry bag for small items.
- Run on a hot water and heated drying cycle, or sanitizing setting, if available.
- Wash your hands before handling clean items. If items aren’t fully dry, let them air-dry on a clean paper towel or on a dedicated drying rack.
Keep in mind, if you're able to use a dishwasher with the recommended settings above, additional sterilization steps below aren't needed.
2. Boiling Water
This method works by using the high temperature of boiling water to eliminate harmful germs and bacteria, according to the World Health Organization. To get started:
- Wash all dirty bottles or feeding equipment with soap and water first.
- Place the separated bottle parts in a large pot and fill it with enough water to fully cover them.
- Set the pot on the stove and bring the water to a rolling boil.
- Let the items boil for about 10 minutes, regularly checking bottles and accessories for any tears, cracks, or damage.
- Carefully remove each item using clean tongs.
3. Steam Sterilizers
Steam sterilizers can eliminate germs in just a short amount of time, but with several types to choose from, it’s important to follow the manufacturer’s instructions for sanitizing, cooling and drying each item. Here are the general steps for using a steam sterilizer:
- Wash all bottle parts and feeding equipment with soap and water first.
- Place the bottle parts and accessories inside the sterilizer..
- Add the right amount of water according to the manufacturer's instructions.
- Turn it on.
Most sterilizers complete the process in about 10 to 15 minutes but remember to let it cool down before opening to avoid burns. Always wash your hands before removing pieces from the sterilizer, and let air dry on a paper towel or on a designated drying rack if bottle parts are still wet.
4. Bleach Solution
If you can’t use a dishwasher, boiling or steam to sterilize your baby feeding items, a bleach solution can be a good alternative. To use this method:
- Mix two teaspoons of unscented bleach with one gallon of water in a clean wash basin.
- Submerge all items completely, making sure no air bubbles are trapped in the bottles.
- Squeeze the solution through the nipple holes.
- Soak everything for at least two minutes.
- Remove the items with clean hands or tongs, and don’t rinse them. Any leftover bleach will evaporate as they dry, making them safe for your baby.
After Sterilization
After completing one of the sterilization methods above, place your feeding equipment on a clean paper towel or dedicated drying rack in an area free of dust or dirt. Let them air-dry completely before storing, and avoid rubbing or patting them dry with a towel, as this can spread germs.
Safe Handling and Storage of Baby Bottles
Once your equipment is fully dry, follow these steps to handle and store your newly cleaned baby bottles:
- Wash your hands: Start by washing your hands thoroughly with soap and water.
- Put everything back together: Snap the dry baby bottle parts back into place.
- Store with care: Keep your reassembled bottles, formula feeding items, wash basin and bottle brush in a protected cabinet meant just for clean items.
Remember that keeping baby bottles in great shape is an important part of protecting your little one during their infant feeding journey. Look out for signs like cracks, discoloration or soft, worn-out nipples — these all mean it's time to buy a fresh bottle. Regularly checking and replacing bottles ensures they're doing their job to protect against germs and gives you peace of mind with each feeding.
Baby Bottle Sterilization FAQs
Still have questions? It’s totally normal to want to get it right! Let's address a few FAQs to help you navigate the ins and outs of keeping those bottles squeaky clean:
Can I skip sterilizing bottles if they look clean?
It may be tempting, but even if your bottles appear spotless, sterilizing is recommended — and a must for newborns or babies with compromised immune systems.
What should I do if I accidentally use a bottle that wasn’t sterilized?
No need to stress! If your baby uses a bottle that wasn’t sterilized, they’re likely going to be just fine. Just make sure to be extra diligent about sterilizing next time to minimize any risk. If you’re still concerned, feel free to reach out to your pediatrician for personalized guidance.
Can I use regular dish soap instead of sterilization?
While washing with dish soap does a good job of cleaning, it doesn’t fully sterilize. For both safety and peace of mind, you'll want to make sterilization (or sanitizing with a dishwasher) a regular part of your routine — especially for premature and/or immunocompromised babies.
Are there specific bottles that are easier to sterilize?
Yes! Look for wide-neck bottles or those with simple designs and fewer parts. These options are usually easier to sterilize thoroughly and are generally dishwasher-friendly as well.
How can I travel safely with sterilized bottles?
Pack sterilized bottles in clean, resealable bags to keep them safe and sound. You can also bring along portable sterilizers, such as sterilizer bags to use in a microwave, or sanitization tablets for quick and easy cleaning on the go.
The Importance of Bottle Sterilization and Trustworthy Infant Nutrition
Keeping your baby's bottles regularly sterilized is all part of protecting your newborn's health and creating a dependable feeding routine. And with cleanliness as a priority, you ensure your little one always gets the very best.
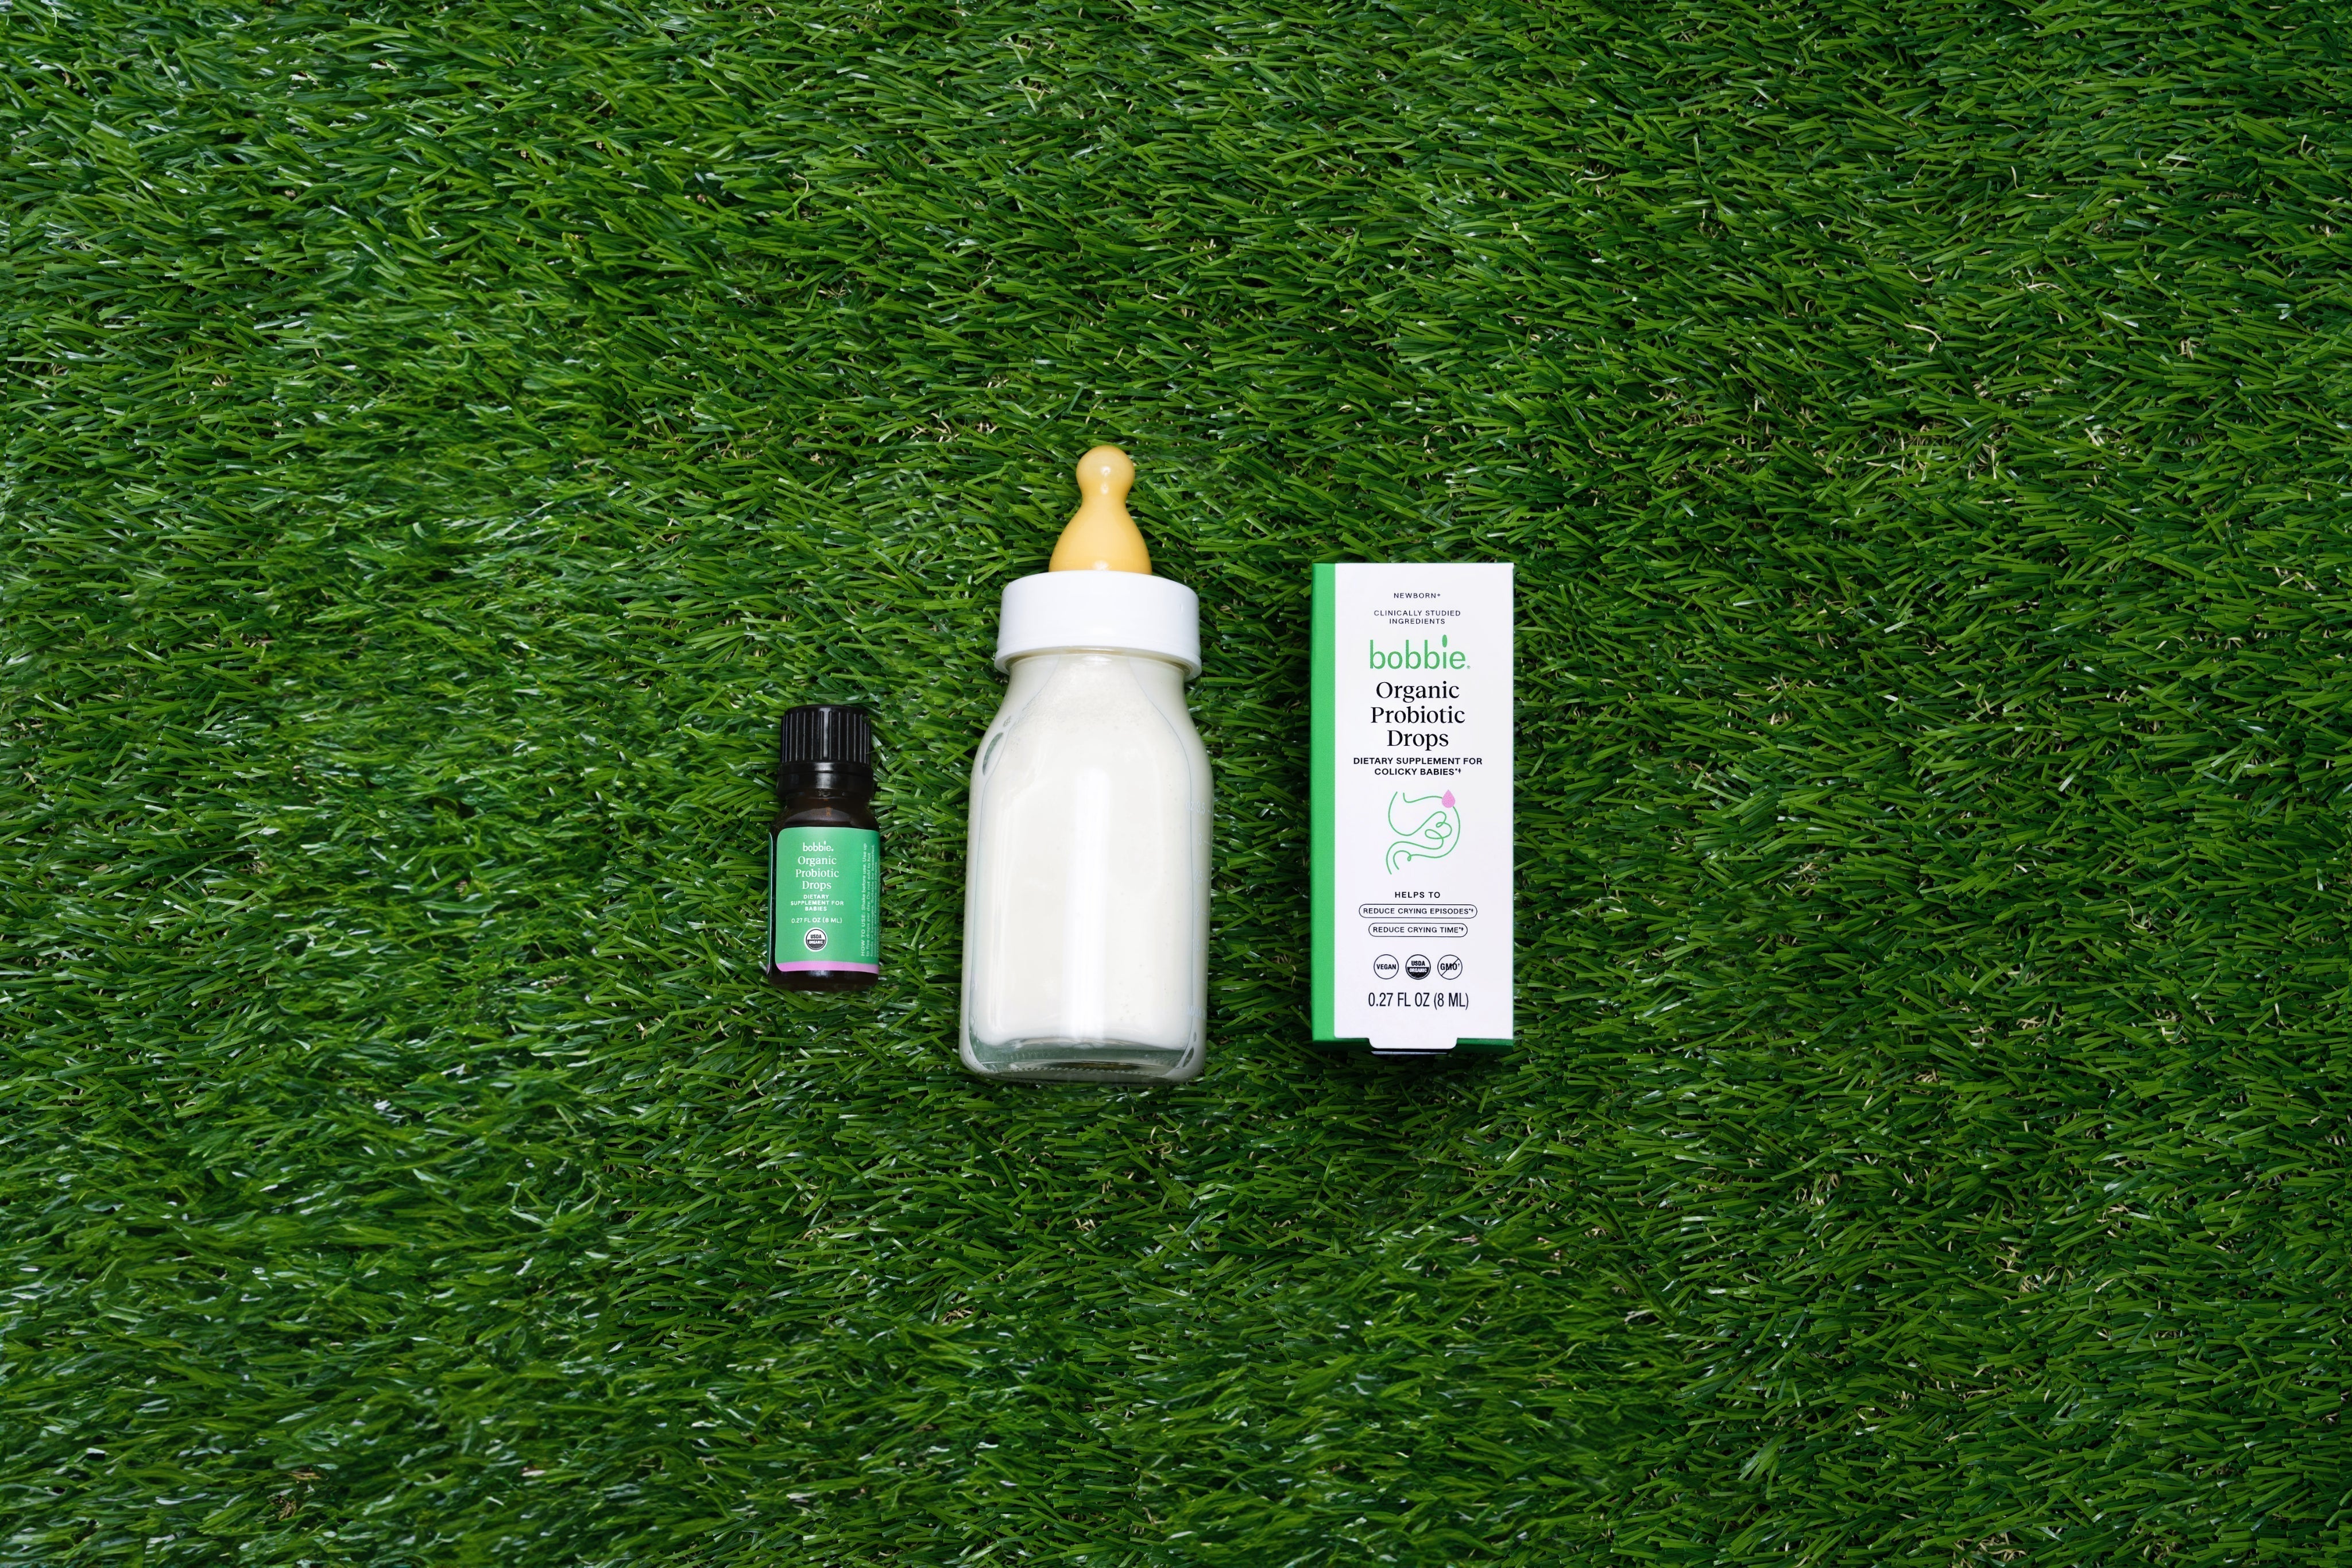
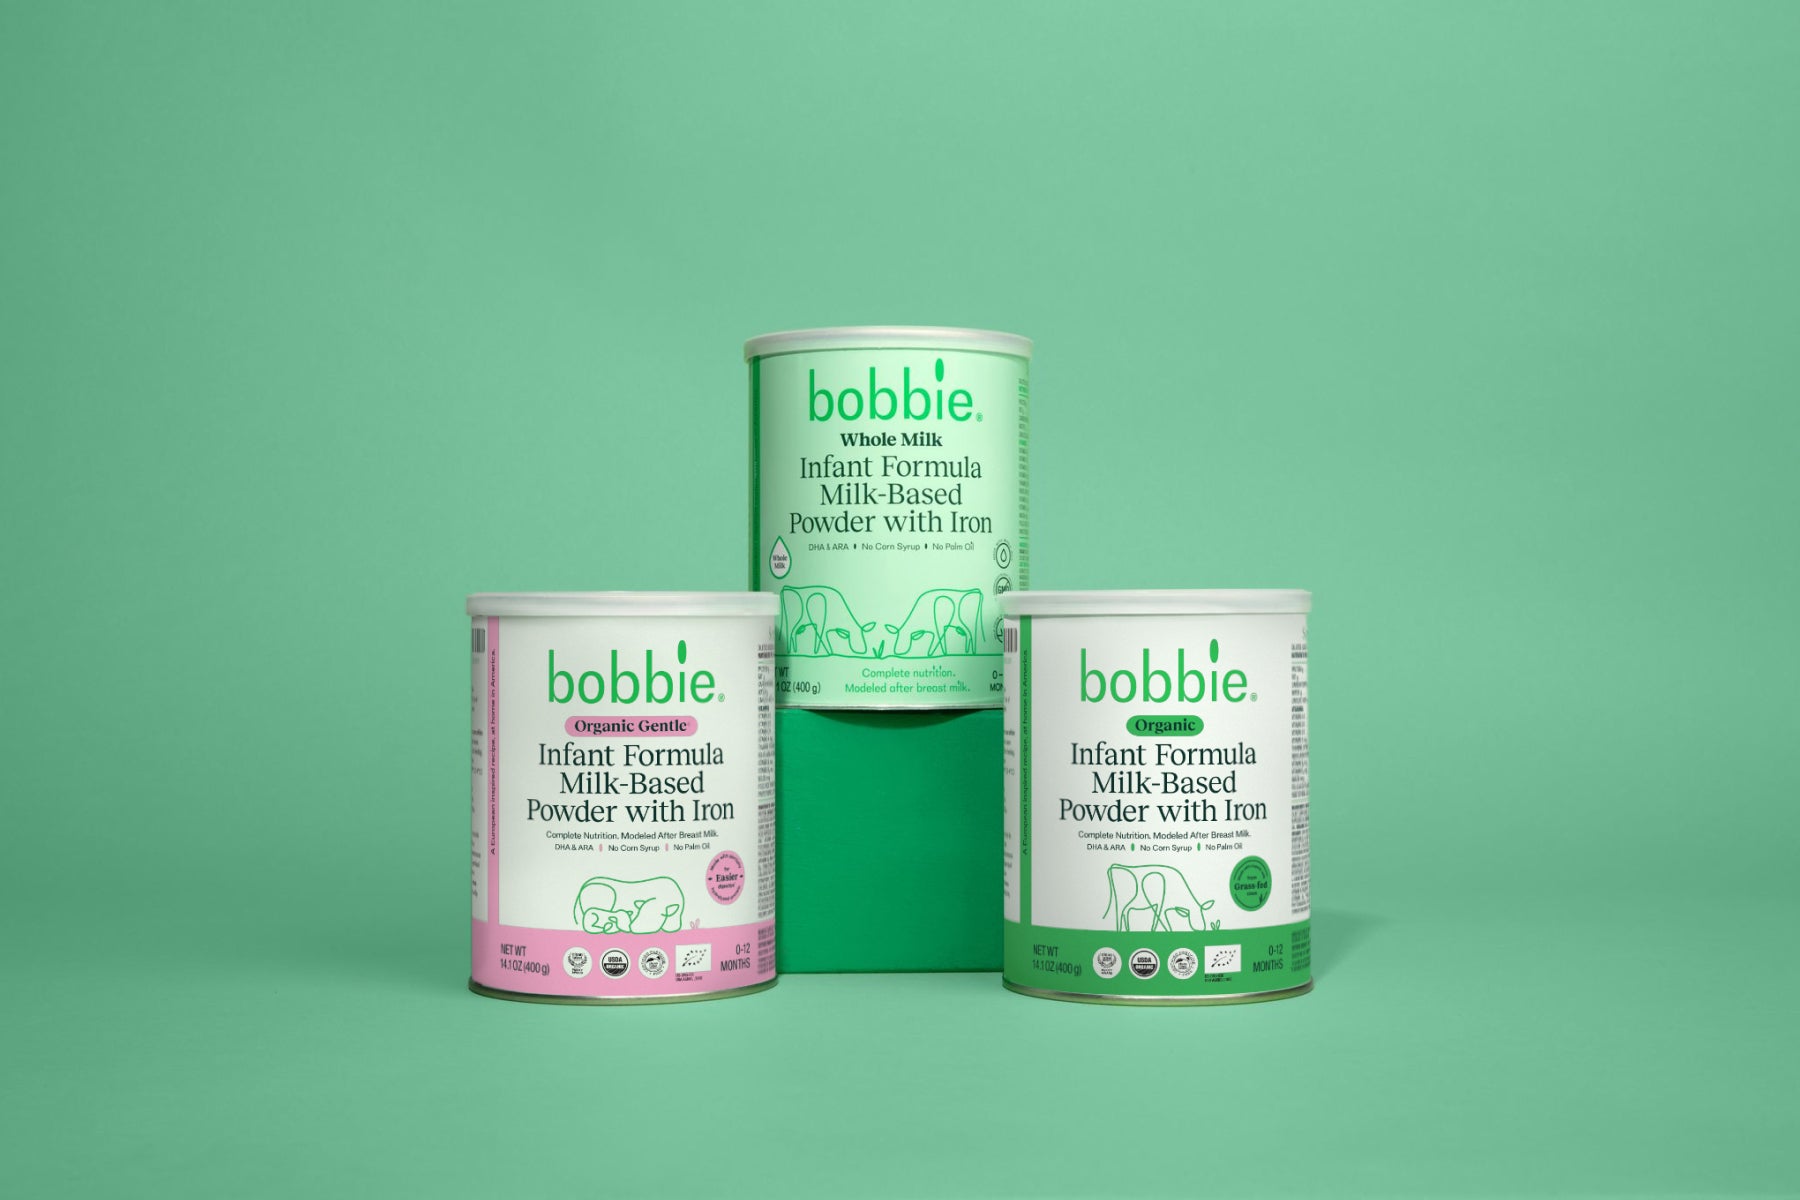
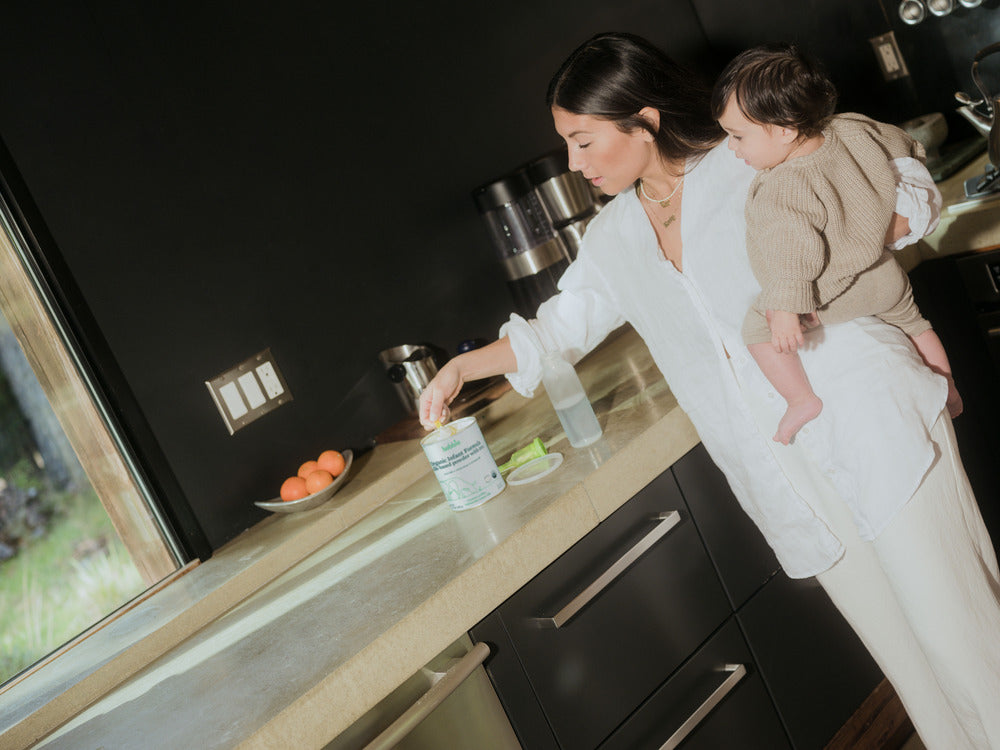
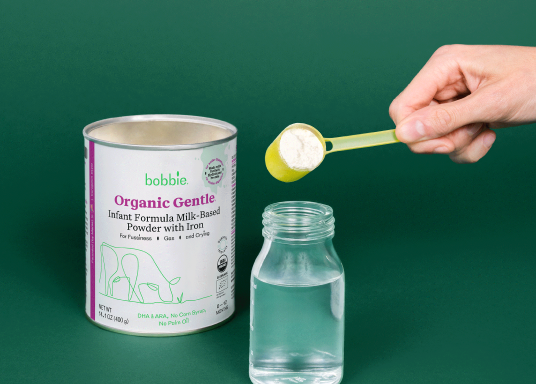
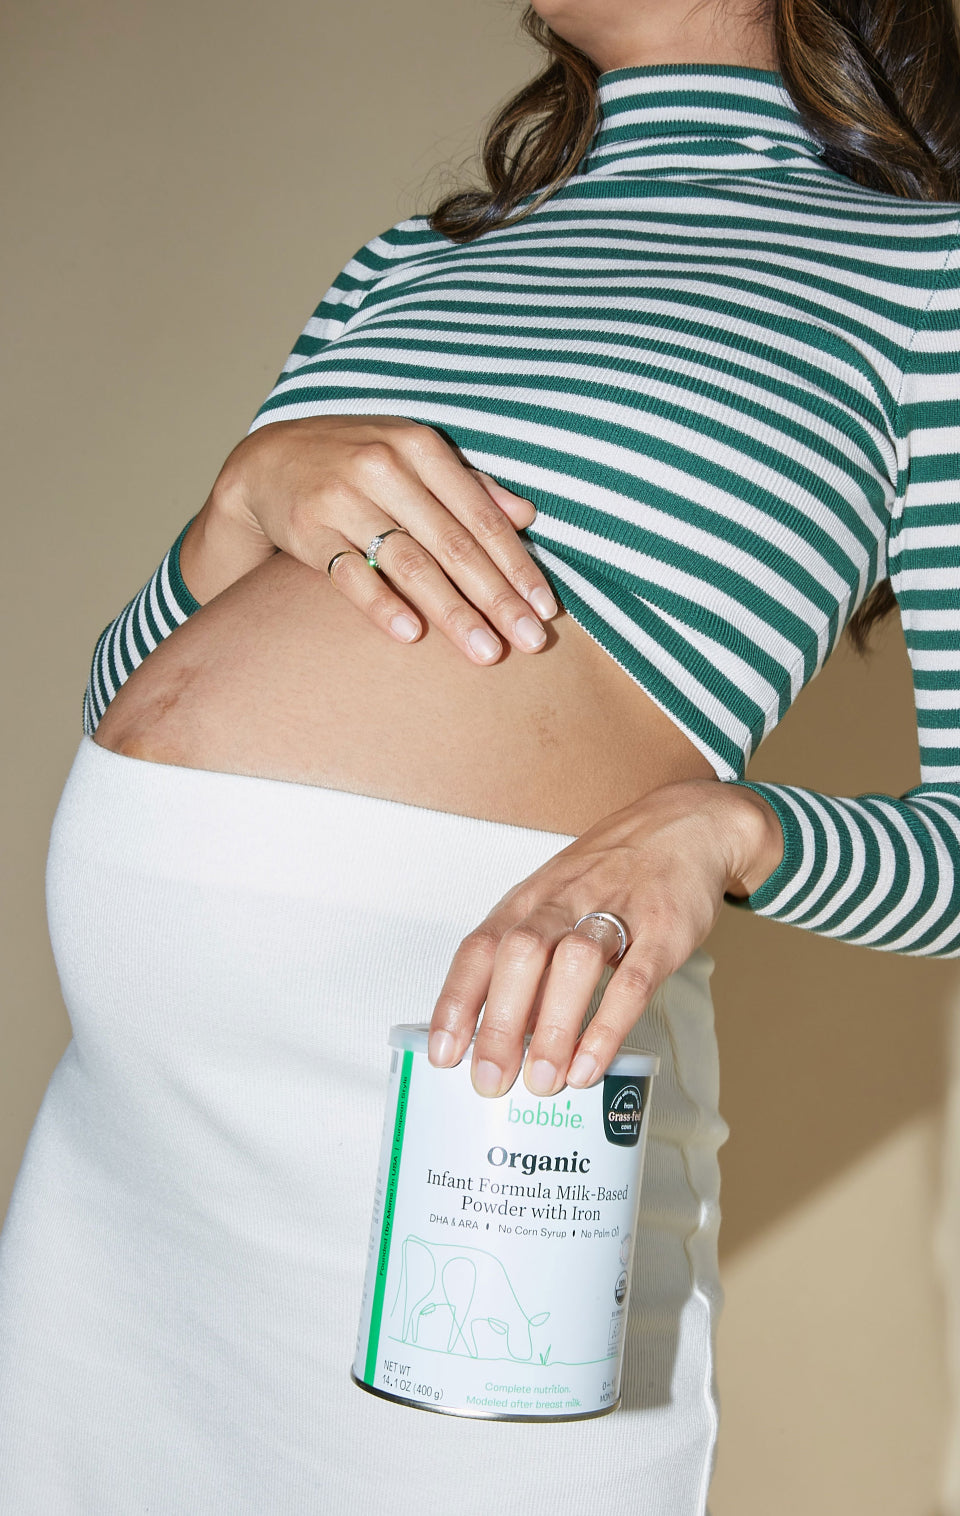
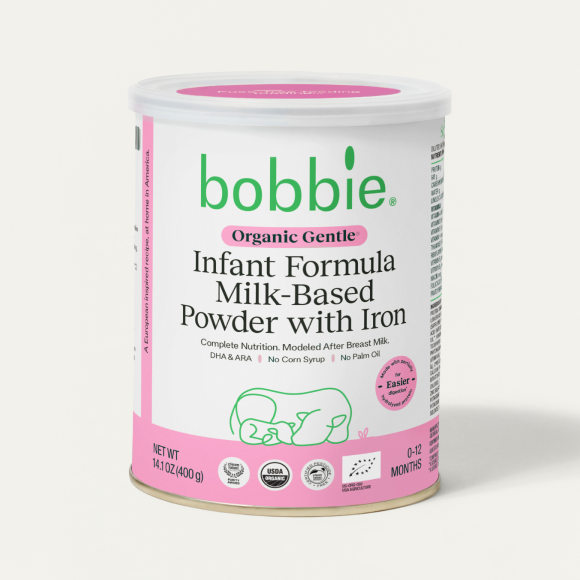
When it comes to infant formula, trust Bobbie to deliver high-quality, clean-label ingredients that support your baby’s healthy growth. Bobbie guarantees that each bottle is packed with the essential nutrients to help babies flourish, making it a great option for every little one's journey.
Ready to get started? Shop Bobbie organic infant formula today!
The content on this site is for informational purposes only and not intended to be a substitute for professional medical advice, diagnosis or treatment. Discuss any health or feeding concerns with your infant’s pediatrician. Never disregard professional medical advice or delay it based on the content on this page.